

If you’re considering Tesla EV charger installation at home in LA, expect a typical all-in price of $1,000–$2,500 for a straightforward Level 2 EV Charger Installation using a Tesla Wall Connector (hardware + labor + permit). Longer wire runs, outdoor routing, or panel constraints can push totals to $2,500–$5,000+. A quick load calculation determines whether you’re fine as-is or need a 200 Amp Panel Upgrade in Los Angeles. Choose a licensed Electrician Los Angeles with proven Tesla work, clean routing, and permit/inspection support to avoid rework and delays. For a quote that holds up on install day, Tik Electric handles everything end-to-end in ev charger installation los angeles projects.
What exactly is a Tesla home charger?
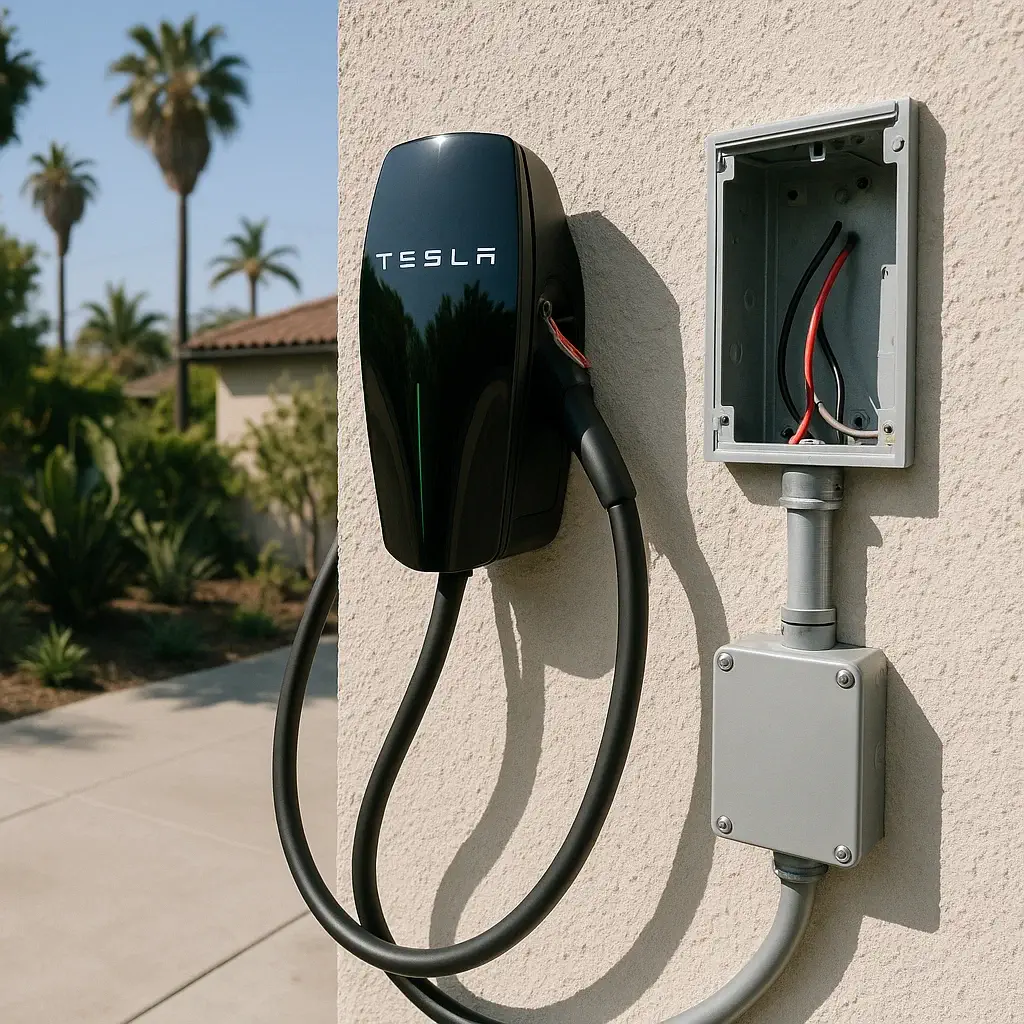
A Tesla Wall Connector is a Level 2 (240V) charger that can deliver up to 11.5 kW (when supported by your circuit and vehicle). You can mount it indoors or outdoors, hardwire it for performance/weather sealing, and integrate it with load-sharing if you run multiple units. For LA homeowners, Level 2 EV Charger Installation is the sweet spot: fast overnight charging, reliable, and inspection-friendly.
Tesla EV Charger Installation Cost (What drives the number)
Use these factors to translate generic ranges into your home’s reality:
- Distance from panel to parking
- Short, direct routes (20–30 ft) keep labor/materials low.
- Long interior runs (attic/crawl), exterior EMT, or structural obstacles add time and conduit.
- Mounting + environment
- Indoor wall near the panel is fastest.
- Outdoor installs need weatherproofing, correct conductor, fittings, supports, and labeling.
- Electrical capacity
- A quick load calculation tells you if your current service supports a 40–60A circuit for the Wall Connector.
- If you’re already tight, consider load-sharing/scheduling—or a 200 Amp Panel Upgrade in Los Angeles.
- Permits & inspection
- In LA, permits are typically required; a clean, code-compliant install avoids failed inspections and return visits.
- Special cases
- Detached garage with trenching (cost of trench depth/surface restoration).
- Condo/HOA: path approvals, meter room access, and deeded stall logistics.
Ready for a Clean, Permit-Ready Tesla Charger Install?
We handle load calcs, routing, and inspection—so your Wall Connector works flawlessly from day one.
Typical LA scenarios with price feelers
- Attached garage, short run, hardwired 40A: ~$1,000–$1,800
- Longer interior run (50–70 ft), attic routing: ~$1,600–$2,500
- Detached garage with trenching (30–50 ft): ~$2,200–$3,800
- Condo/HOA route to deeded stall: ~$2,000–$4,000+
- Service at capacity → panel upgrade path: add $3,000–$6,500 (scope-dependent)
Quick sanity check for tesla ev charger installation cost and Tesla home charger installations la cost: if a quote looks far below these ranges, make sure it includes permit, inspection, and complete material lists—not just “labor only.”
Permit, code, and inspection—kept simple
- Permit: Residential EV branch-circuit installs usually need a permit. Your contractor should file it.
- Code highlights: dedicated 240V circuit properly sized to the charger; correct conductor, grounding/bonding, GFCI where required, labeling, and proper disconnecting means when applicable.
- Inspection: A scheduled visit confirms safety and compliance. A tidy installation with correct labeling passes faster.
Do I need a panel upgrade—or can I avoid it?
- You may not need one if a load calc shows headroom for a 40–60A EV circuit and your lifestyle allows charging during off-peak hours.
- Consider upgrade if you want faster charging plus other big loads (A/C, range, spa, dryer) running at the same time—or if you’re planning solar/battery expansion.
- Alternatives: load management (smart scheduling or load-sharing between two Wall Connectors) can postpone upgrades. When in doubt, ask for two quotes: with and without electrical panel upgrade Los Angeles scope.
How to choose the right installation path (3 steps)
- Walk-through + photos: panel, parking spot, path options.
- Load calc + routing plan: confirms circuit size and mount location.
- Permit + install day: set expectations for drilling, patching, and power downtime; finalize placement; run/terminate conductors; program and test the charger.

Pitfalls we see (and how to dodge them)
- Under-sized circuiting leading to nuisance trips → match breaker/wire to the charger’s continuous load.
- Skipping permit to “save time” → often backfires during home sale/insurance claims.
- Overlong surface runs when a shorter attic route was possible → pay for planning, not just labor hours.
- Outdoor without proper fittings/enclosures → water ingress, corrosion, and failed inspections.
Tesla Home Charger Installations succeed on planning, not guesswork. Confirm your route, run a load calc, file the permit, and install cleanly the first time—so you pass inspection and charge reliably every night. In LA, realistic pricing for tesla ev charger installation cost is $1,000–$2,500 for standard homes, rising with long runs or upgrades. If you want a clear, itemized path from quote to inspection, tik electric will map your route, size the circuit, and deliver a neat, code-compliant result. When you’re ready, call, send your panel photo, or drop a comment with cross streets so we can give you an accurate, site-verified plan fast.
If you’d rather not gamble with adapters, shared outlets, or DIY wiring on a car that cost as much as a small condo, let a Tesla-experienced electrician set it up once the right way. Tik Electric has installed Wall Connectors all over Los Angeles in real-world conditions—long runs, tight garages, stucco exteriors, load sharing between two Teslas—and we know how to keep it clean, code-compliant, and inspector-approved.
FAQ
Most homeowners pick a 48A unit (on a 60A breaker) if the panel allows; 32–40A still offers excellent overnight charging with less load impact.
Yes—with load sharing between two Wall Connectors or smart scheduling. Ask your contractor to configure and test the sharing logic.
It raises usage, but off-peak scheduling can lower costs. Many owners set charge windows to avoid peak rates.
Tell your contractor now. Conduit sizing and panel space planning today can save you from rework later.
Yes—Greater LA. If you’re outside central neighborhoods, share your cross streets and a panel photo for a quick feasibility reply.
Leave a Reply