
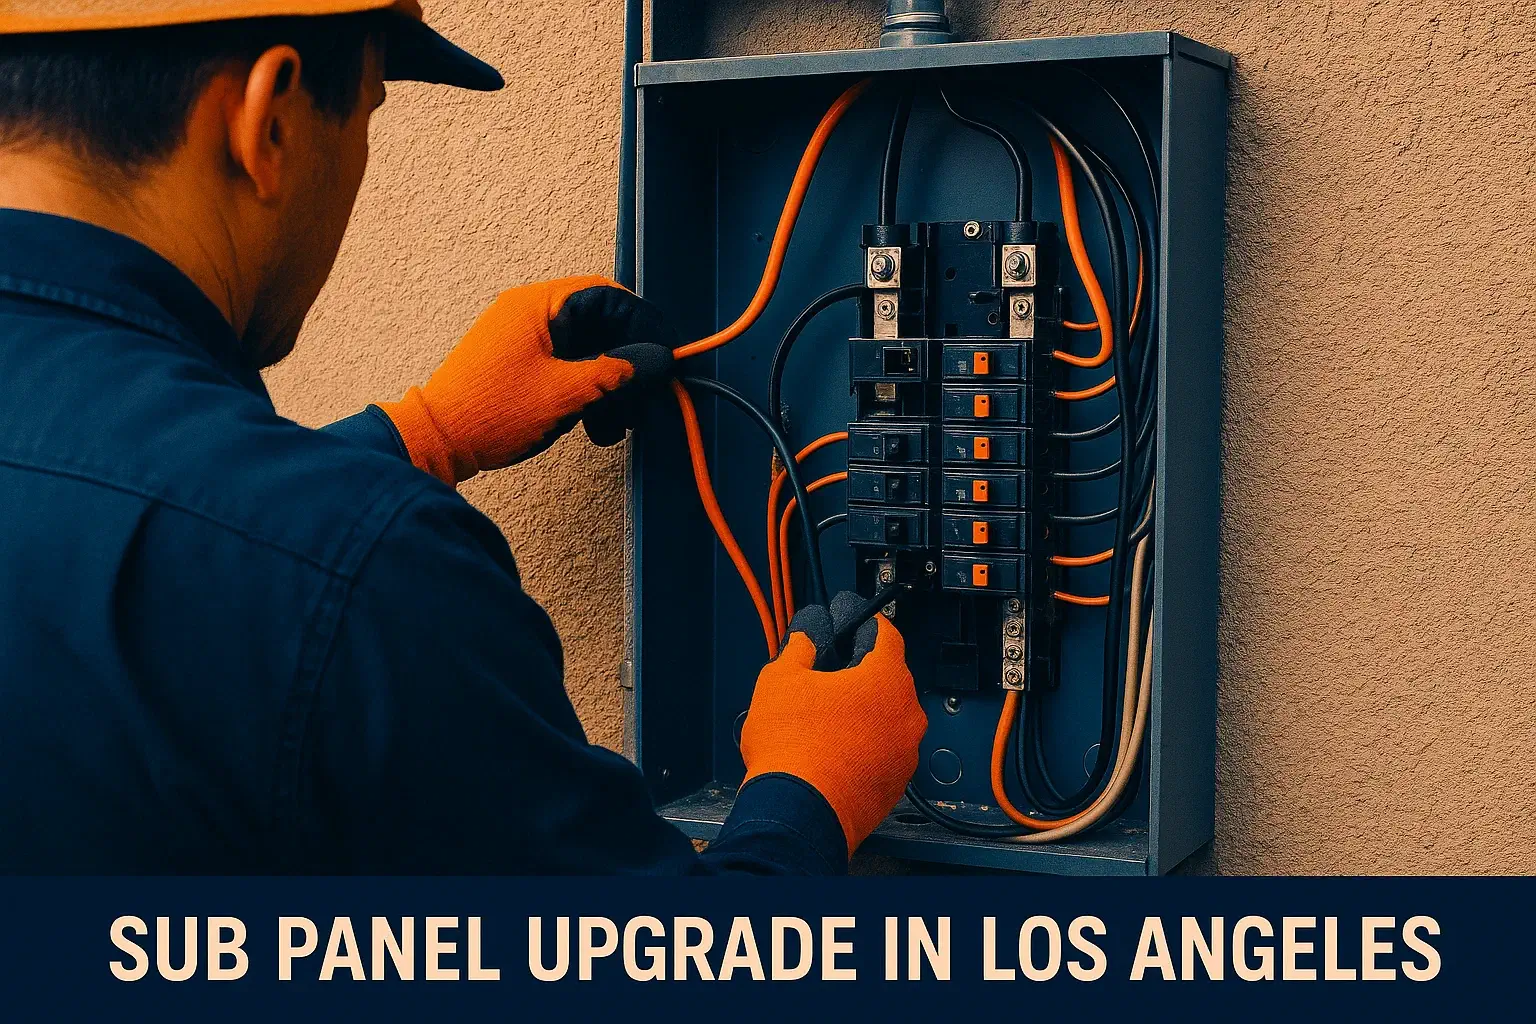
If your home keeps tripping breakers, you’ve added new high-demand loads (EV charger, A/C, spa), or you’re out of breaker spaces, a sub panel upgrade is often the fastest, cleanest way to add safe capacity—without replacing the main service. Typical sub panel upgrade cost in LA runs $900–$2,500 for like-for-like indoor additions; exterior weatherproof, long feeder runs, AFCI/GFCI combos, or relocation can push projects to $2,500–$4,000+. A licensed team from TIK electric will size the feeder, select the right bus rating, handle permits/inspection, and label every circuit—so the work passes first time and stays neat for future projects like ev charger installation los angeles.
Why a Sub Panel?
Think of a subpanel as a “satellite” breaker box fed from your main. It adds breaker spaces and organizes new circuits without changing your meter/main service. Choose sub panel upgrade when:
- You’re out of spaces but the main service has enough capacity by load calc.
- You need circuits closer to a new load (garage workshop, ADU, detached office).
- You’re adding a Level 2 EV charger, heat pump, or outdoor kitchen and want tidy routing.
- You want to reduce messy “tandem”/cheater breakers that crowd the main.
Choose electrical panel upgrade los angeles (full service) if load calcs show the service ampacity is insufficient (e.g., frequent simultaneous large loads). For households planning solar + battery + two EVs, we’ll also discuss a staged path toward a 200 amp panel upgrade in Los Angeles.
Need a Clean, Permit-Ready Sub Panel Upgrade in Los Angeles?
We size the feeder, isolate neutrals, add labeled spaces, and handle permits & inspection—future-proofed for EVs, ADUs, and new appliances.
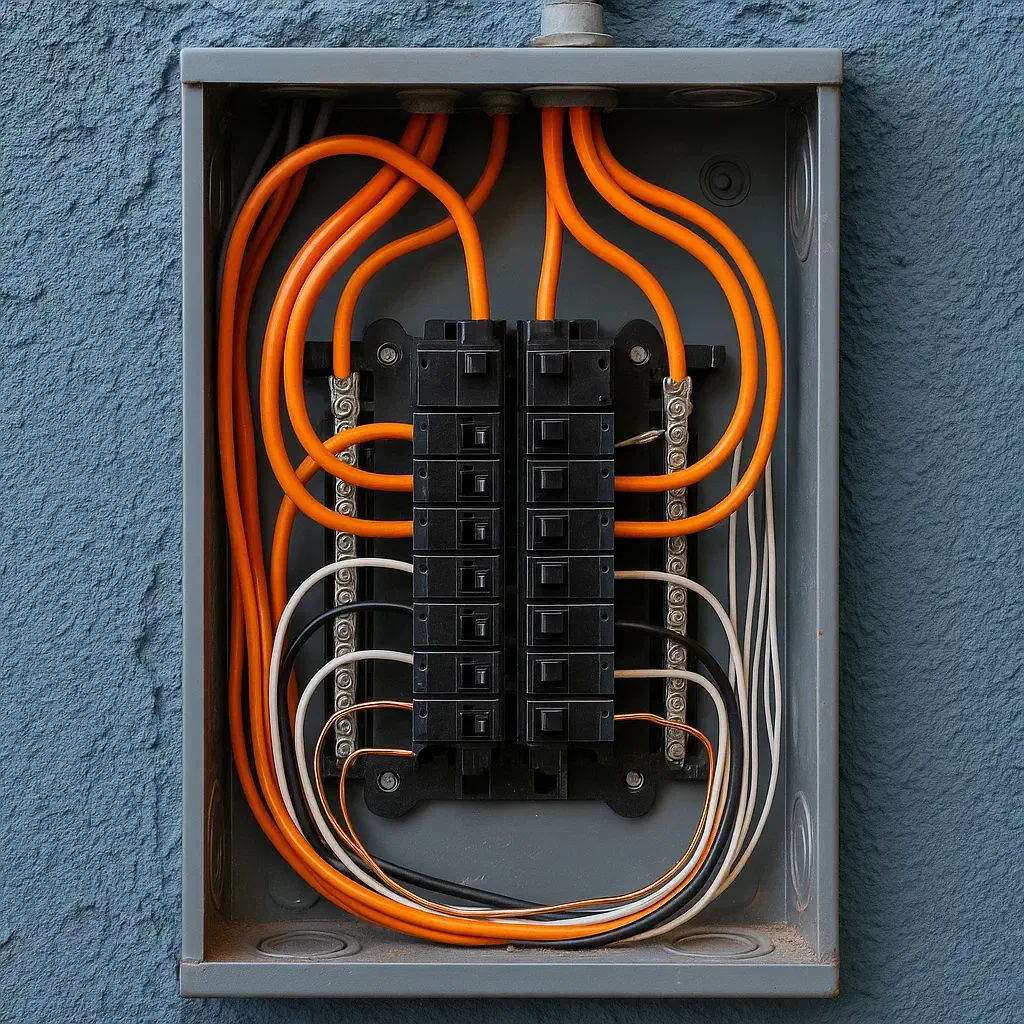
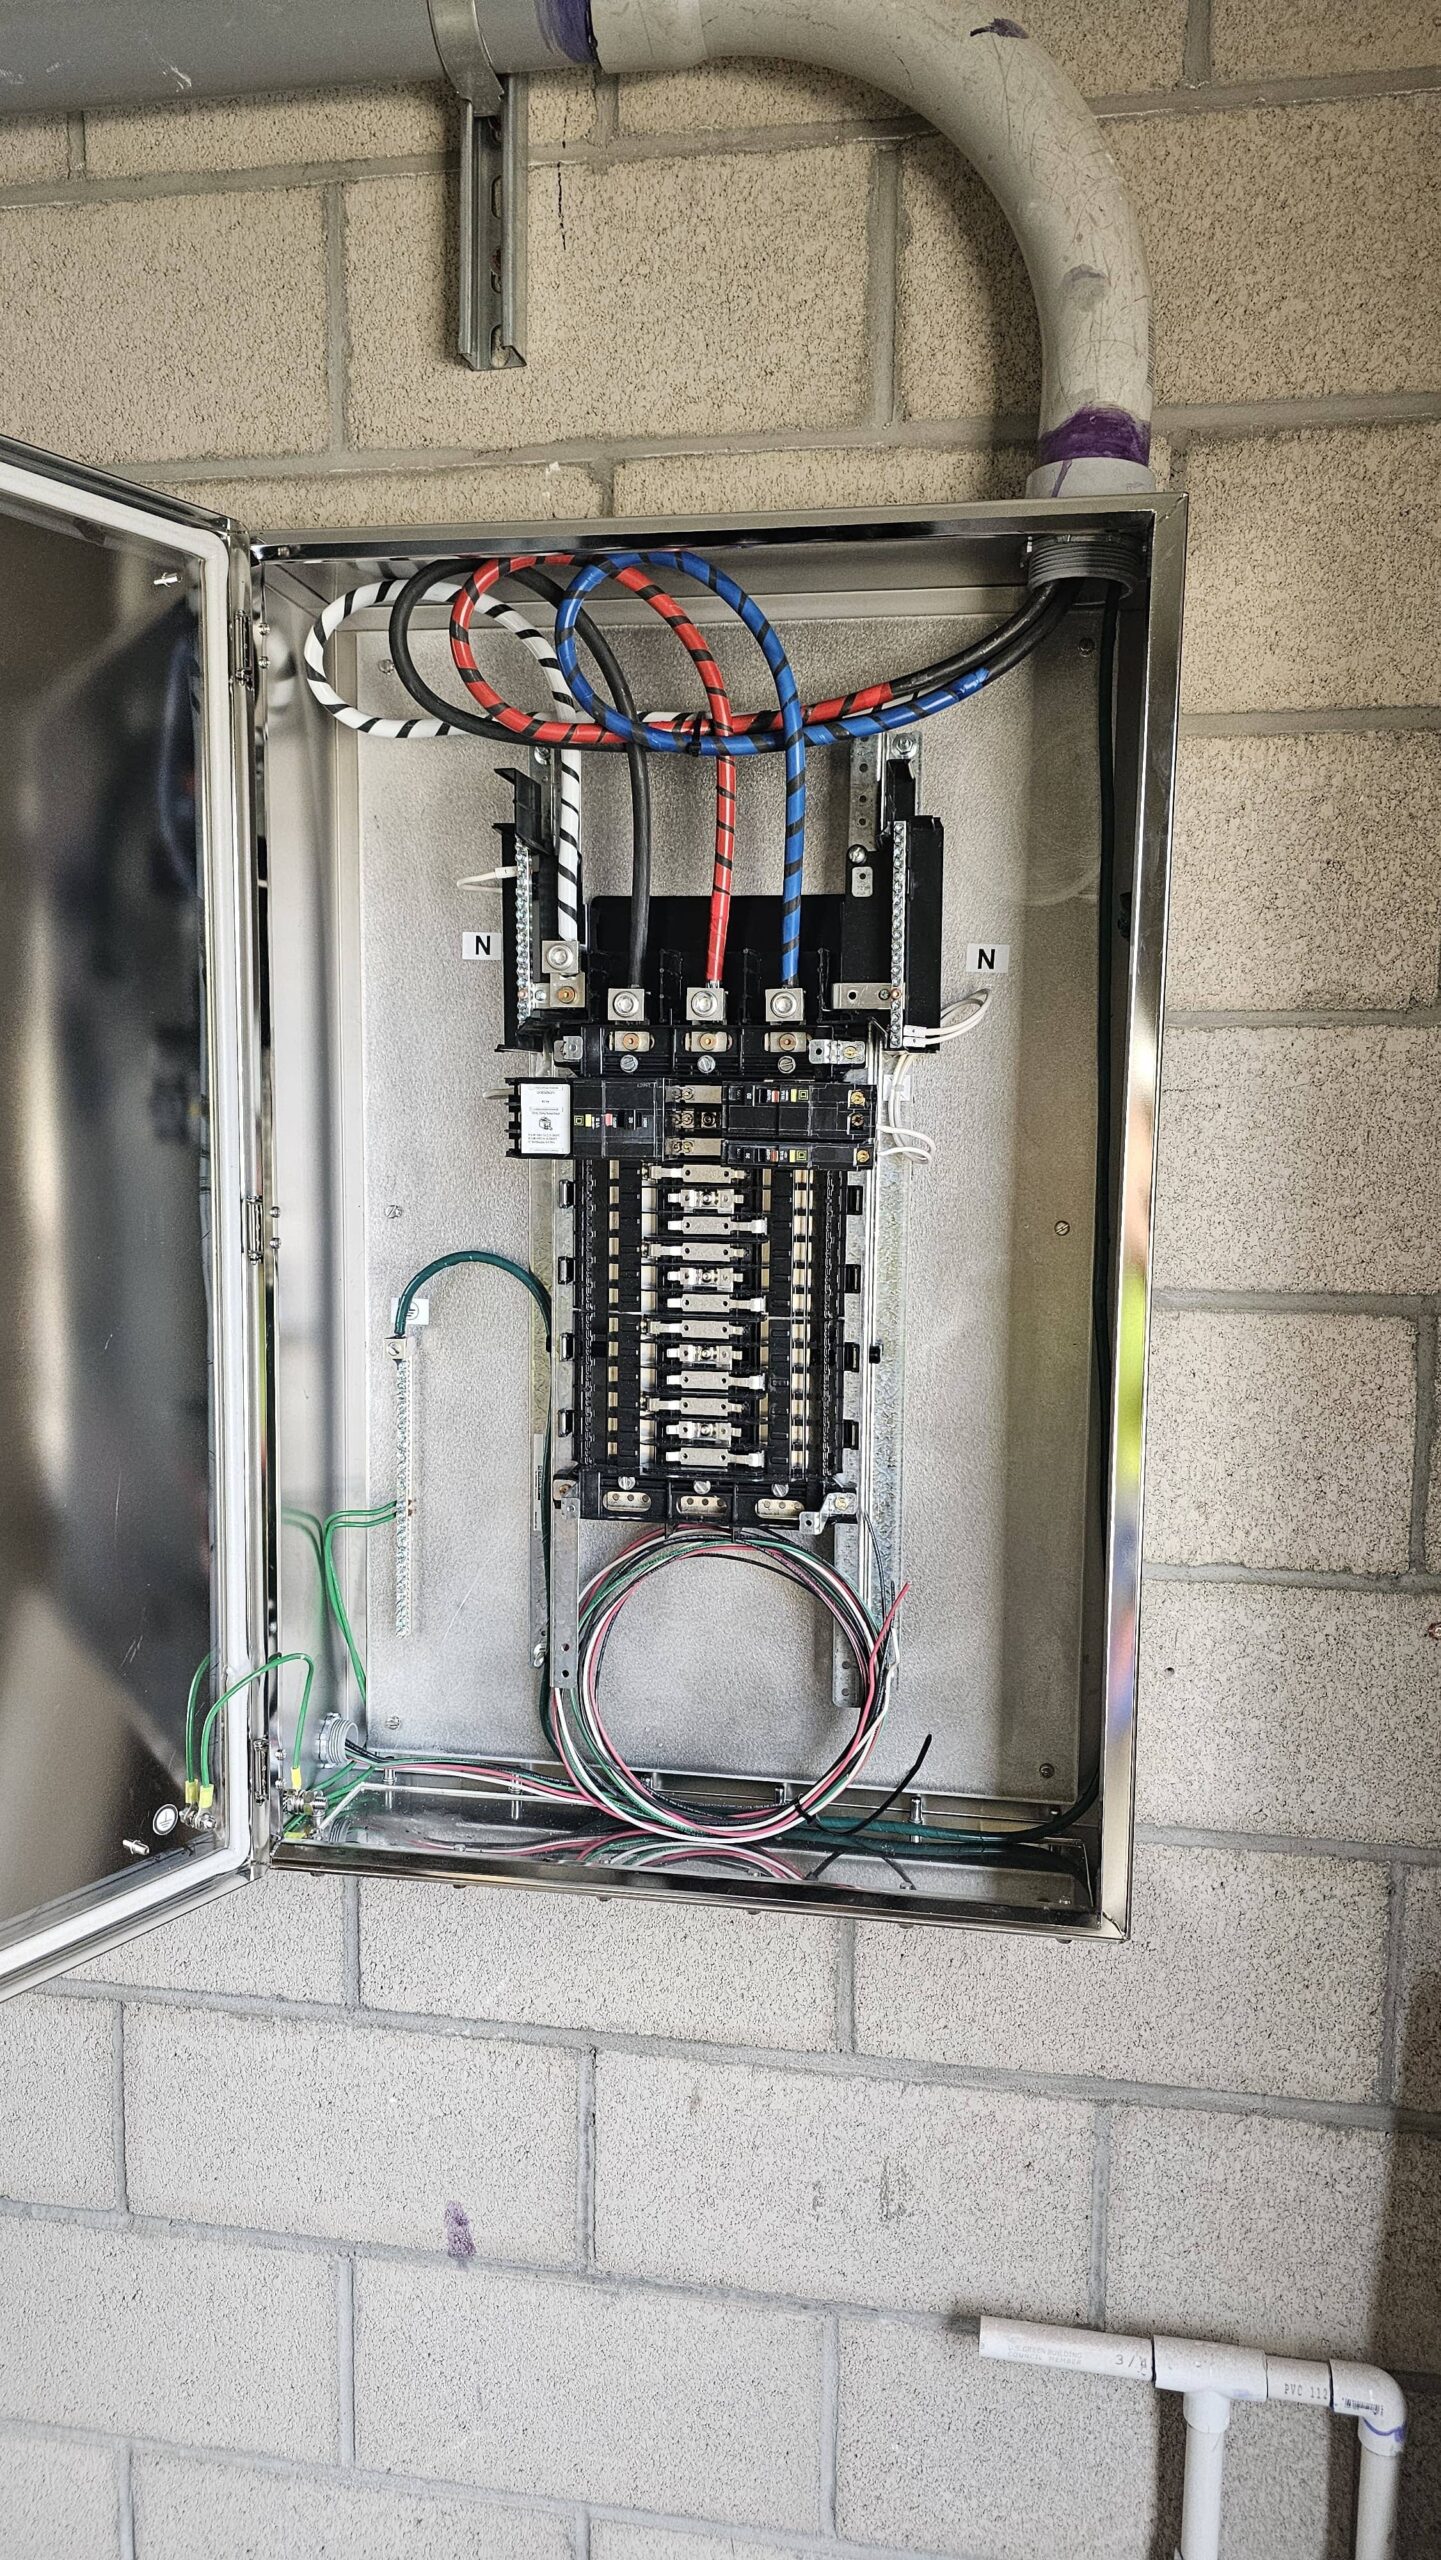
Sub Panel Basics
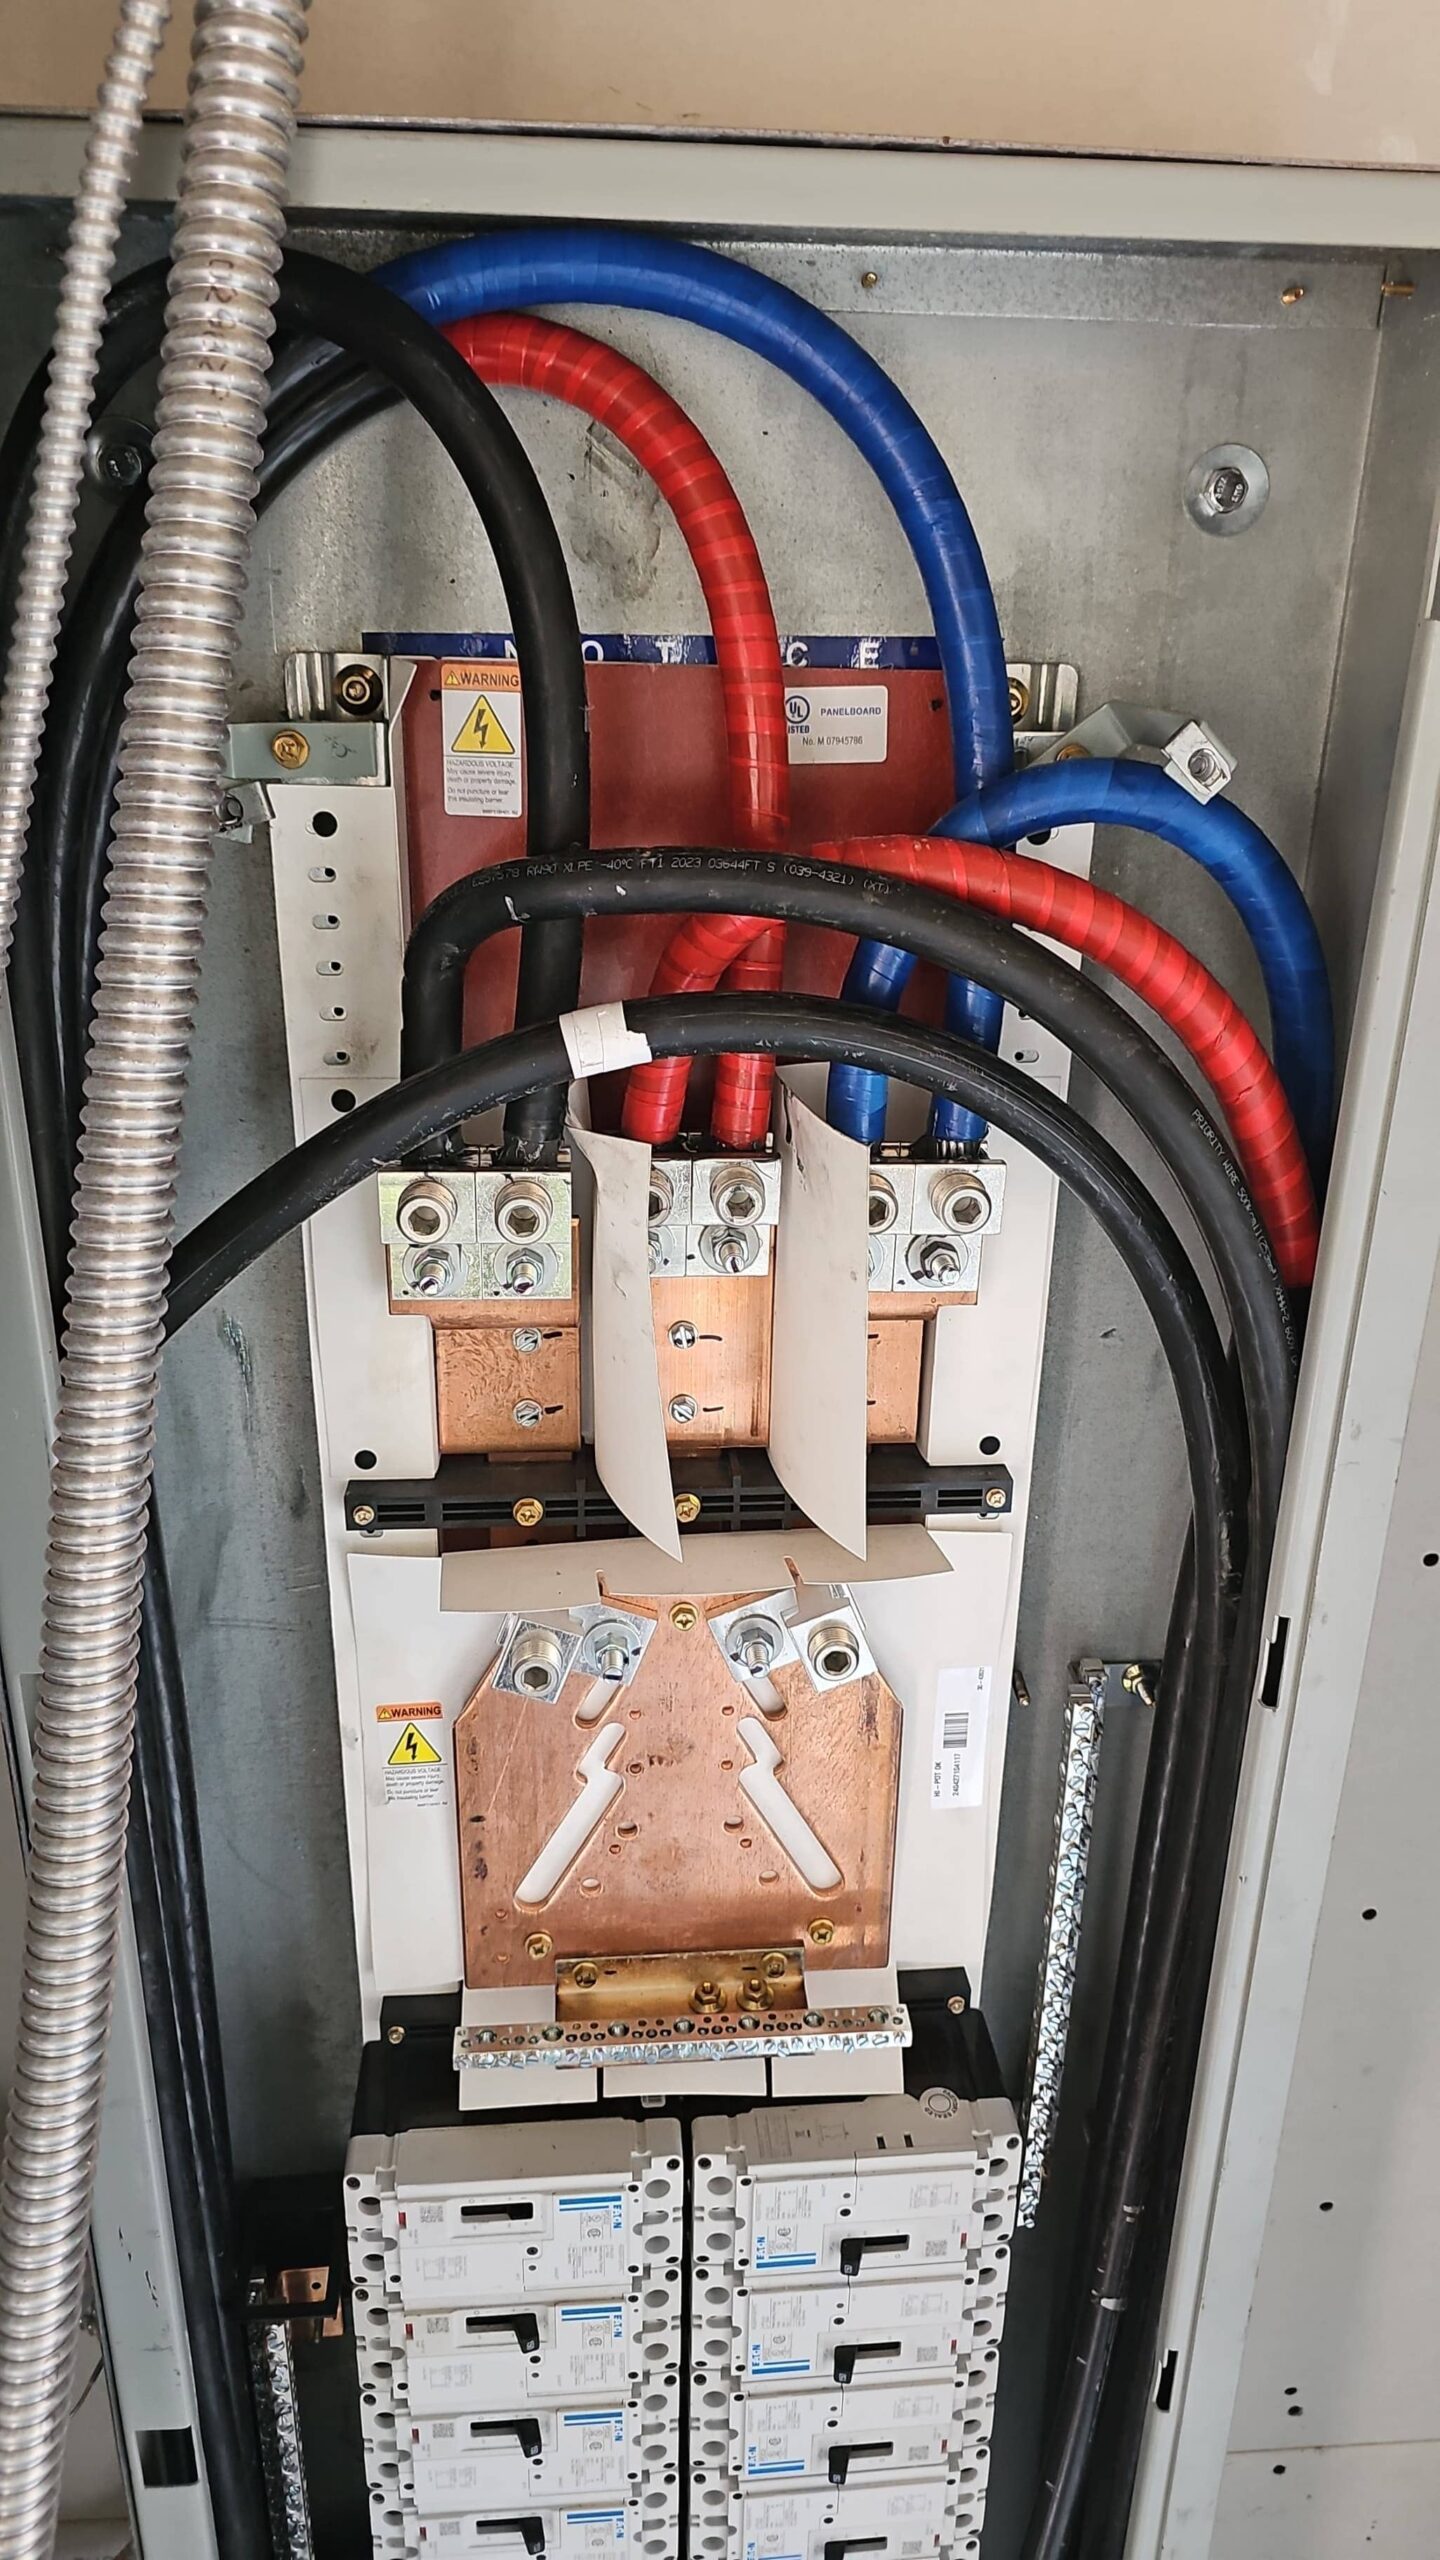
Feeder: Two hot legs + neutral + equipment ground sized to the subpanel load; copper or aluminum per code.
- Bonding/grounding: In subpanels, neutrals are isolated from ground. We install separate neutral bars and ground bars—no bonding strap.
- Main-lug vs. main-breaker: In residences, subpanels are usually main-lug (no dedicated main breaker inside), protected by the feeder breaker in the main panel.
- Locations: Garages, laundry rooms, additions/ADUs, detached structures (with grounding electrode system as required).
- Labeling: Clear circuit directories help inspectors (and you) later.
Signs You Need a Sub Service Panel Upgrade
- No free breaker spaces; multiple tandems crammed in the main.
- Long wire runs from the main to a new area would be ugly/expensive.
- Repeated nuisance trips on shared circuits (kitchen/garage tools).
- Renovations: ADU, EV charger, mini-split, sauna/spa, home office.
- Desire for future-proofing (one clean feeder, flexible spaces later).
Subpanel vs. 200 A Main Upgrade—Which One First?
- Subpanel first when your service ampacity is adequate (load calc says OK) but you’re out of spaces or want neater distribution near the load.
- 200 A service upgrade when loads (EV charging + electric range + A/C, etc.) regularly stack or you plan two EVs soon. We can stage: subpanel today for organization, 200 amp panel upgrade in Los Angeles later when your appliance plan matures.
Perfect Pairings
- EV charging: A garage subpanel gives you a short, clean run for residential ev level 2 car charger installations in los angeles—fewer penetrations, less conduit, easier future add-ons.
- ADU/additions: Feed multiple circuits with one trench/feeder vs. many long homeruns.
- Outdoor living: Spa + BBQ + lighting organized in one weather-rated subpanel.
- Future solar/battery: Clear space and labeling makes interconnection simpler later.
Our Process
- Virtual pre-check
Send photos of the main panel (door open/closed), proposed subpanel location, and any obstacles. We identify quick wins and confirm whether a sub service panel upgrade fits your plan—or if a full service upgrade is smarter. - On-site load calc & layout
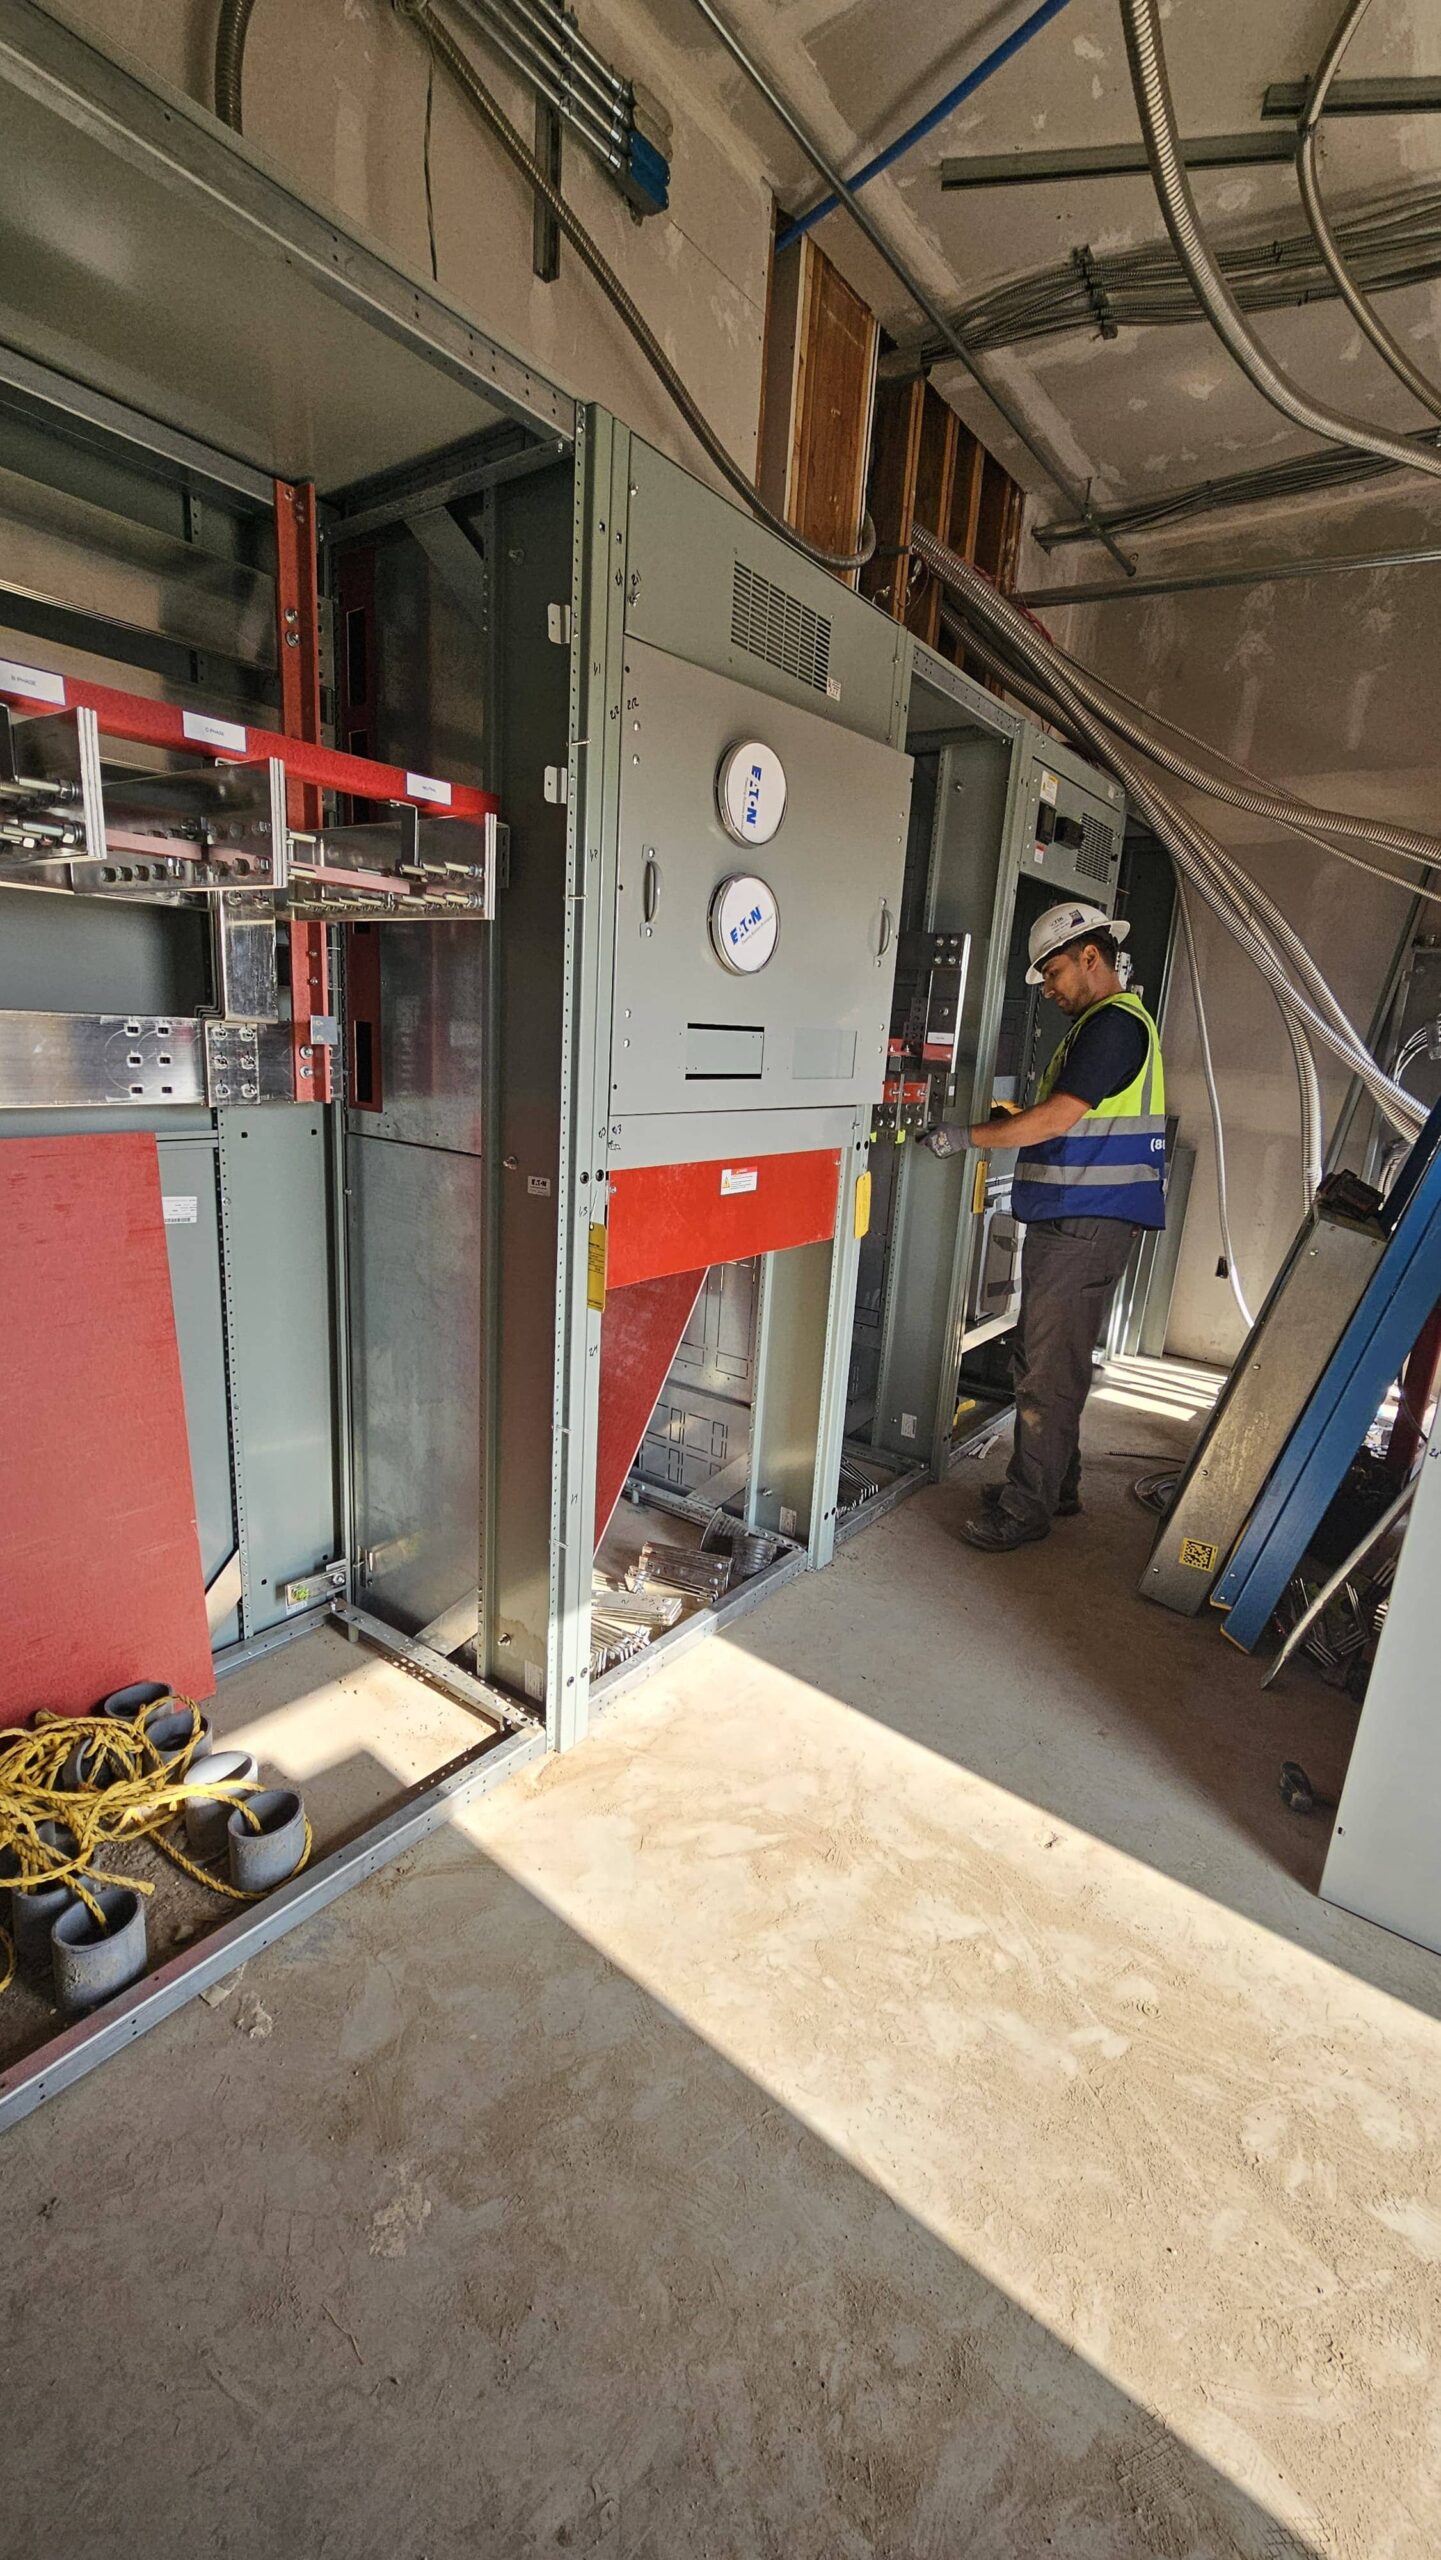
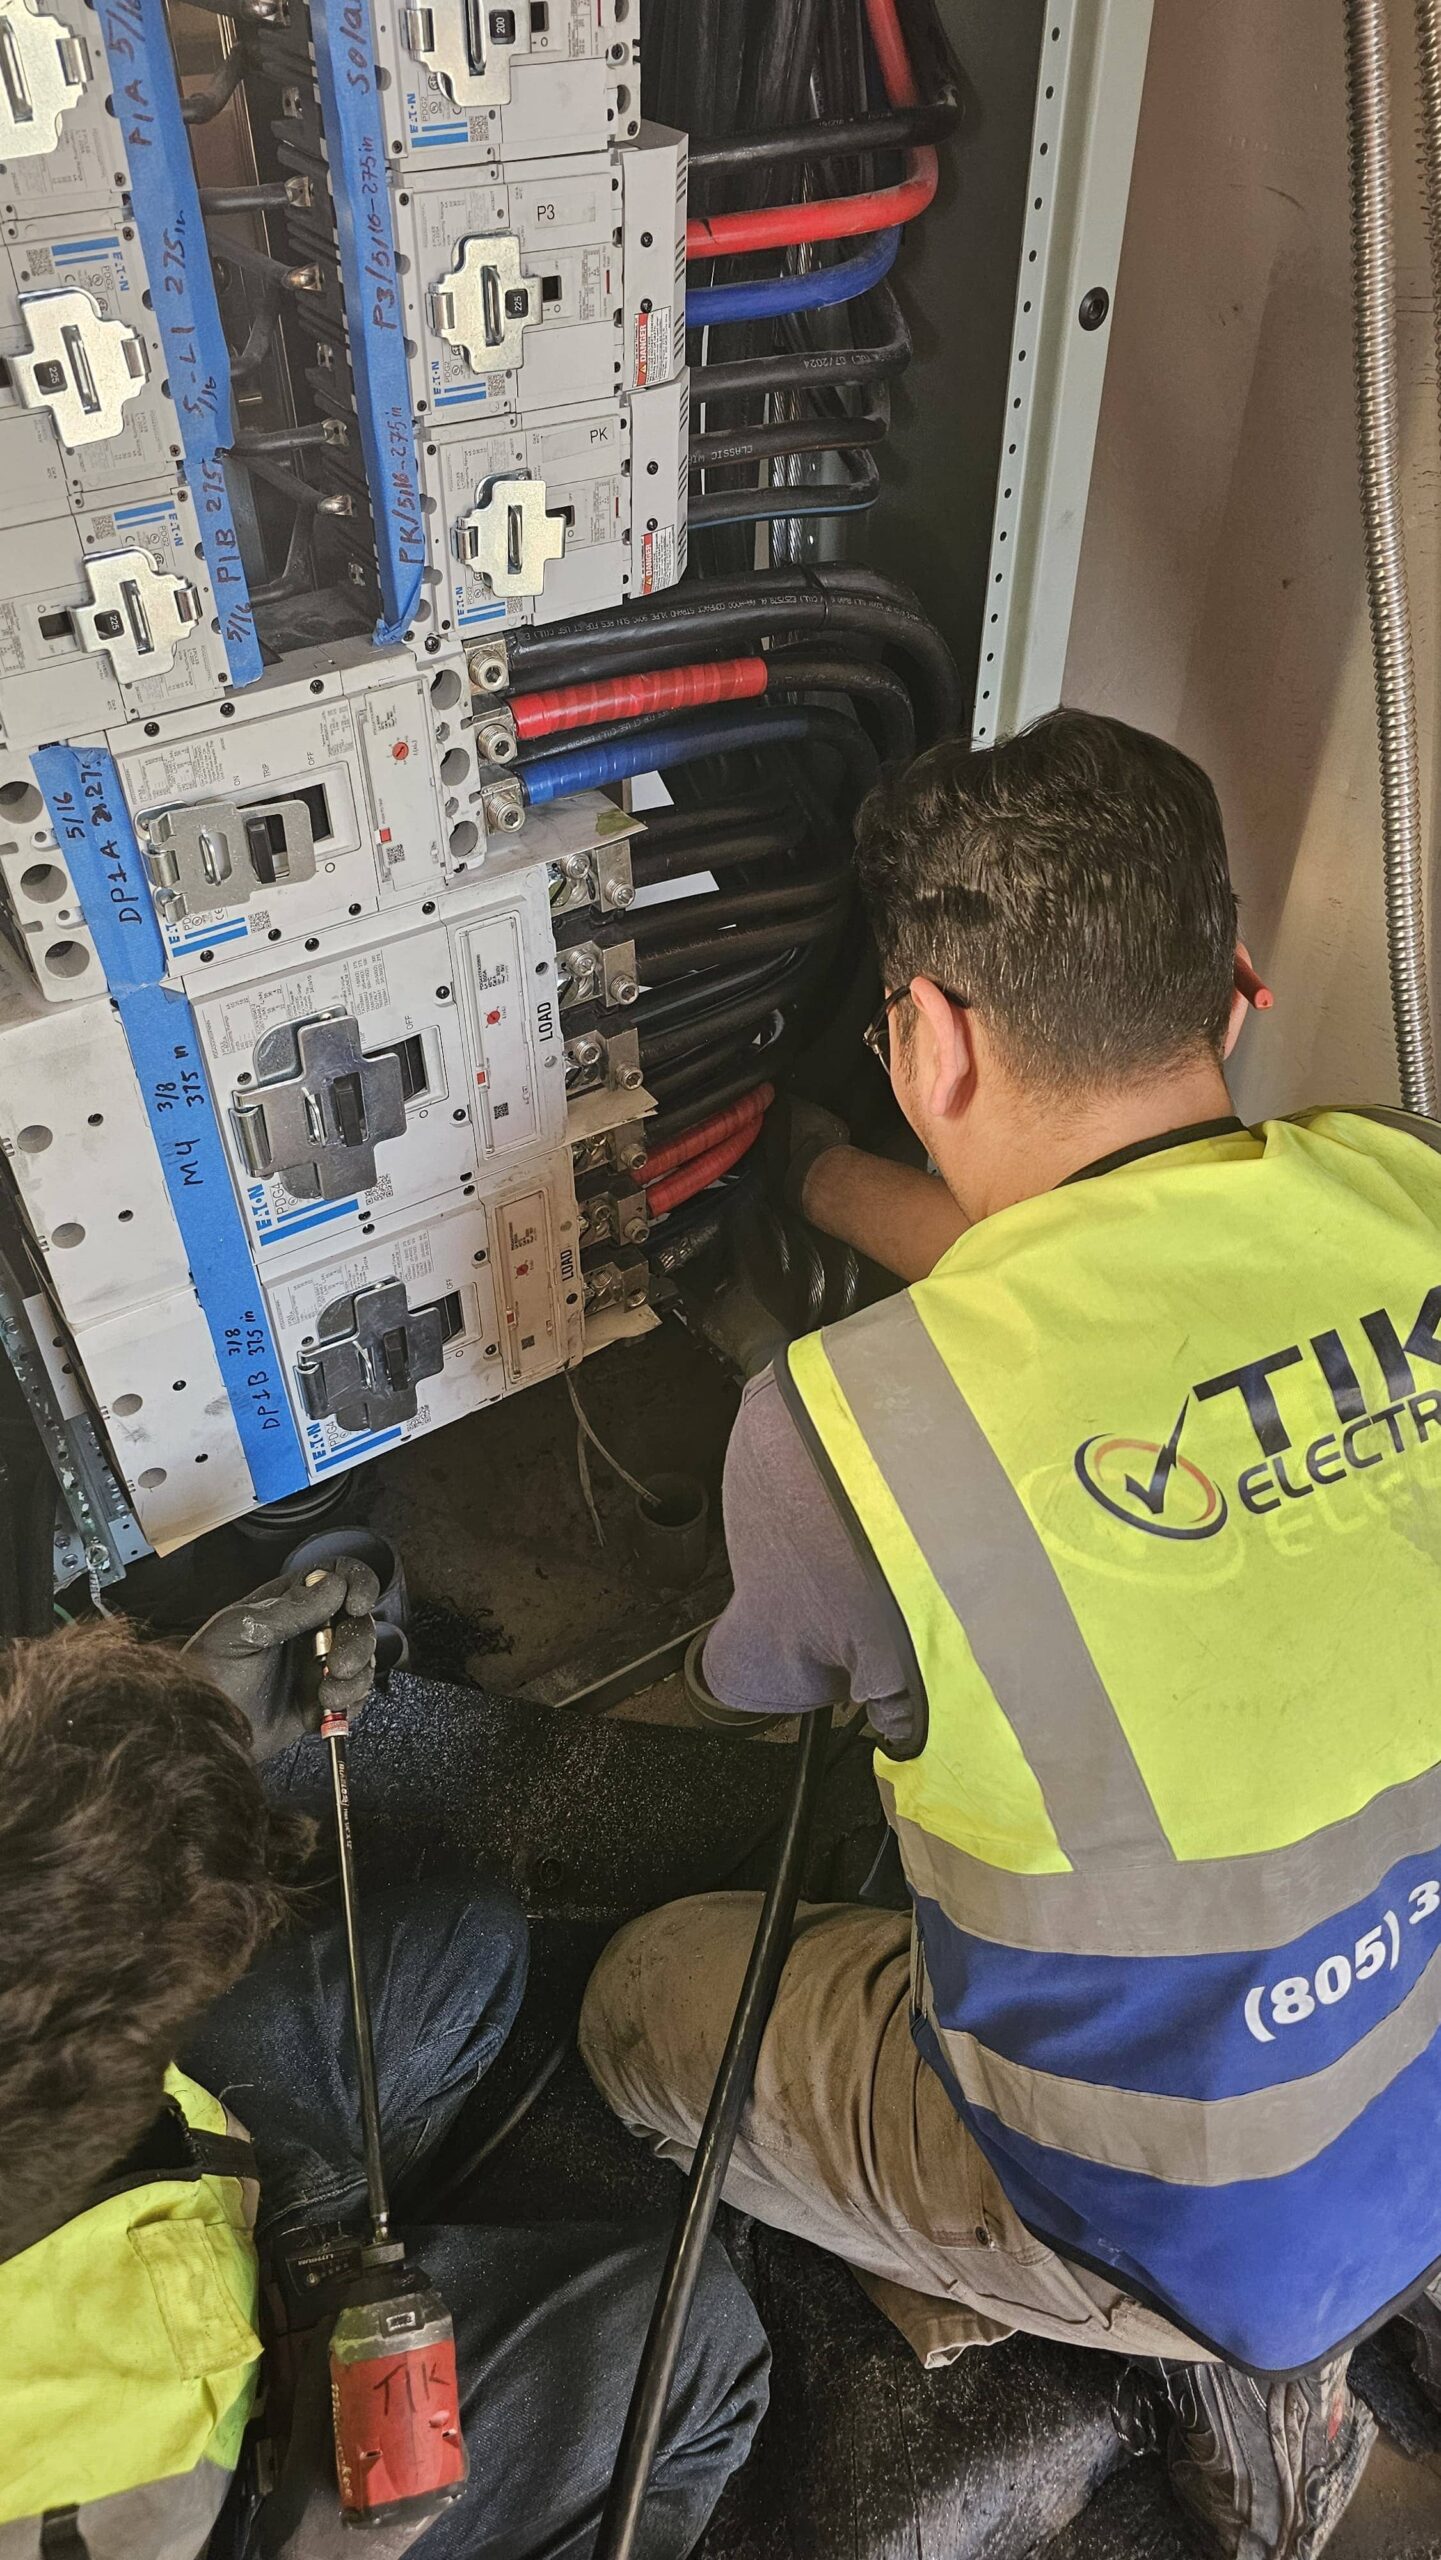
We size the feeder (e.g., 60A/100A), select copper or aluminum conductors, and pick interior/exterior raceway methods that match your home style and budget. - Permit & utility coordination (if needed)
We file the permit, schedule inspection, and coordinate any utility considerations for detached structures. - Install day
- Mount and level the new subpanel (indoor or NEMA 3R outdoor).
- Pull and terminate the feeder; isolate neutrals, bond grounds properly.
- Add new breakers/circuits, label everything clearly.
- Tidy, test, and walk you through the directory.
- Inspection & handoff
We meet the inspector when required and hand over a clean circuit map you’ll actually understand.
Safety & Code Notes
- Neutrals isolated from ground in subpanels—always.
- Feeder breaker in the main protects the subpanel bus.
- Grounding for detached buildings: driven rods or other electrodes per code, bonded correctly.
- AFCI/GFCI: Required in certain rooms/circuits; we specify the right breaker mix.
- Working clearances: Subpanels need safe access; closets/bathrooms are typically off-limits.
- Labeling: Saves inspector time and your headache later.
A properly planned sub panel upgrade is also one of the best “stage one” moves you can make if you’re thinking ahead to EVs, an ADU, a backyard spa, or future solar. Tik Electric can look at your existing service, map out where a subpanel makes the most sense, and design a layout that keeps today’s project clean while leaving room for what’s coming next.
Recent Sub Panel Upgrade Projects in Los Angeles
FAQ (Straight Answers)
Most indoor garage subpanels install in one working day once the permit is issued. Exterior/detached builds can add a day or more.
If trips are caused by overloaded shared circuits or long, undersized runs, yes—new dedicated circuits from the subpanel usually fix it. If the main service is undersized, consider a full upgrade.
You can, but it’s not required. A main-lug subpanel with a correctly sized feeder breaker in the main panel is standard.
Both are code-legal when sized/terminated correctly. Copper is compact; aluminum is budget-friendly. We spec anti-oxidant and torque values where required.
Yes, residential subpanels generally require a permit and final inspection. We file and meet the inspector.
Leave a Reply